So until last year, I never worked with shaders in VTK (the Visualization Toolkit). This was kind of sad actually, but I thought it would be super difficult, the need didn’t really arise and well, ain’t nobody got time for that! For our VIS 2016 submission though, I finally got to play around with them. And spoiler alert: it’s not that difficult and even kind of fun! Especially with a little help from highly intelligent co-authors 🙂
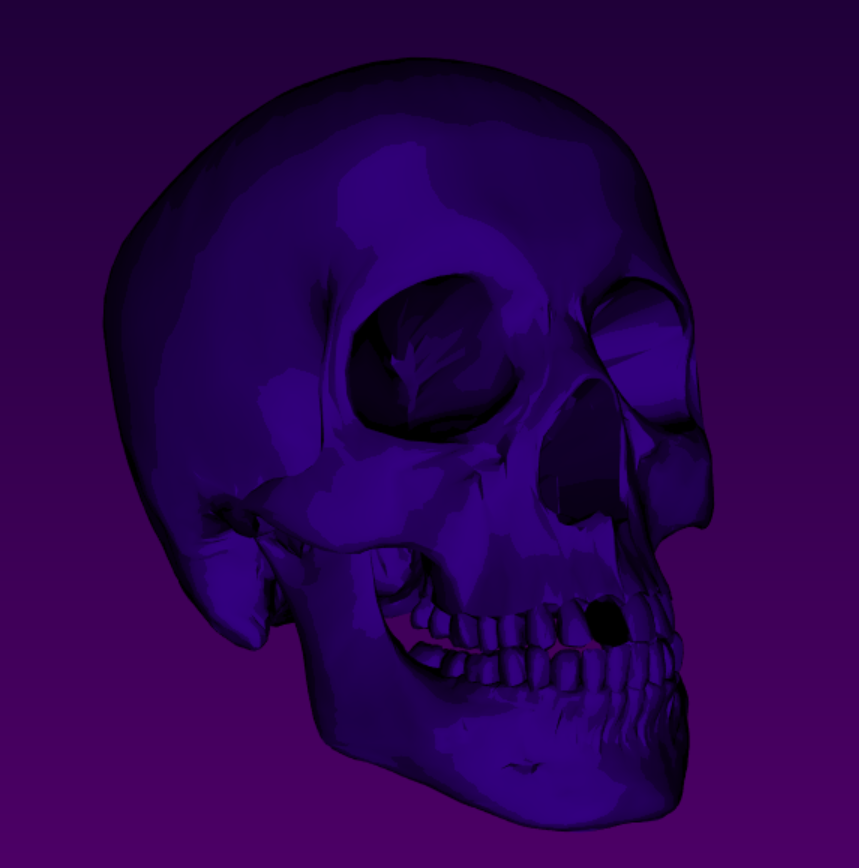
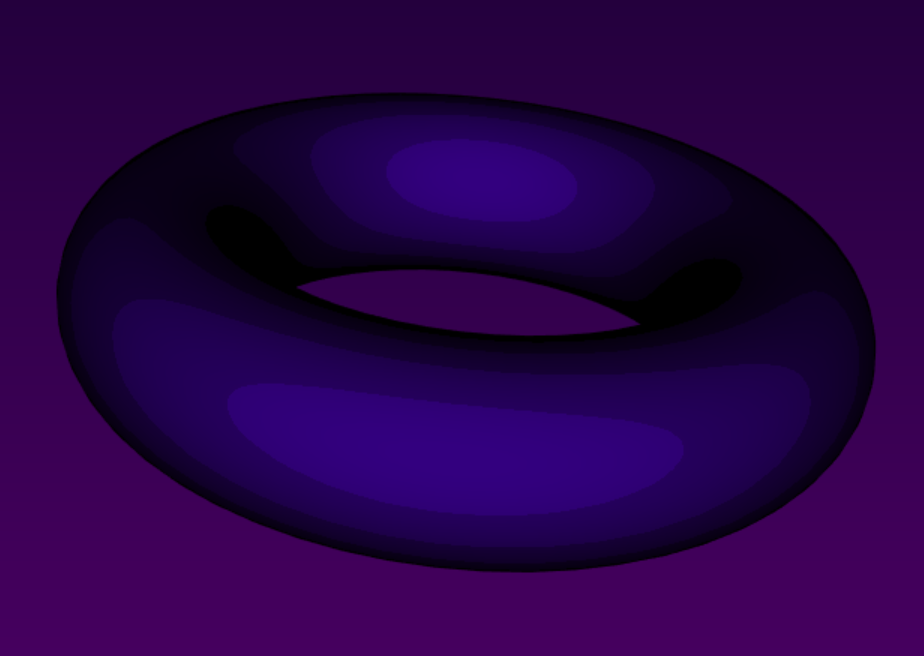
So today I would like to share a little Python example I made as a tutorial, featuring a cel-shaded (or toon-shaded if you’re one of those people) donut or skull in exactly 100 lines of code, probably half of them comments. Before we get started, a little sneak preview:
Right, so let’s get started! I’m using VTK version 6.3 built with the ‘old’ OpenGL backend and not the newer OpenGL2 one, in which custom shaders are handled in a different way. I’m using 64-bit Python 2.7 to go with this. You can find the skull surface and code you need here: shaderfun.
VTK supports GLSL shaders that you can add to your vtkActors. The easiest way to do this is, in my opinion, by specifying your shaders as multi-line strings using triple quote block (”’ bla ”’ or “”” bla “””). You can define a vertex and fragment shader in this way. To get your shader to work with VTK, you need to define a propFuncVS in the vertex shader, and a propFuncFS function in the fragment shader. These are the ones we’re using today:
The vertex shader:
vert = """
    varying vec3 n;
    varying vec3 l;

    void propFuncVS(void)
    {
        n = normalize(gl_Normal);
        l = vec3(gl_ModelViewMatrix * vec4(n,0));
        gl_Position = gl_ModelViewProjectionMatrix * gl_Vertex;
    }
"""
The fragment shader:
frag = """
    varying vec3 n;
    varying vec3 l;

    void propFuncFS( void )
    {
        vec3 cl = vec3(.2,0,.5);
        vec3 light = normalize(l.xyz);
        float vdn = light.z;
        cl = round(vdn * 5) / 5 * cl;
        gl_FragColor = vec4(cl*vdn,1);
        if (vdn < 0.3)
        {
            gl_FragColor = vec4(vec3(0),1);
        }
    }
"""
Once you made some shaders, you want to add them to your vtkActor so that VTK knows which objects to shade. First you make a vtkShaderProgram2 and set its context to your render window. Then you make a vtkShader2 for every shader you made, e.g., one for the vertex shader and one for the fragment shader, set the source codes to your multiline GLSL strings. and set their context to that of the vtkShaderProgram2. Now you can add the shaders to the program. You get the OpenGL property of your actor and call SetPropProgram to attach your shader program to the actor. Finally, just set the Shading to On of your property and you are good to go! Did I make it sound difficult? It’s not, here’s the relevant code:
# Now let's get down to shader-business...
# First we make a ShaderProgram2 and set it up on a date with the RenderWindow
pgm = vtk.vtkShaderProgram2()
pgm.SetContext(renWin)

# For both the vertex and fragment shader, we need to make a Shader2
# Also set them up with the RenderWindow, by asking the ShaderProgram2 for an introduction
shaderv = vtk.vtkShader2()
shaderv.SetType(vtk.VTK_SHADER_TYPE_VERTEX)
shaderv.SetSourceCode(vert)
shaderv.SetContext(pgm.GetContext())
shaderf = vtk.vtkShader2()
shaderf.SetType(vtk.VTK_SHADER_TYPE_FRAGMENT)
shaderf.SetSourceCode(frag)
shaderf.SetContext(pgm.GetContext())

# Now we add the shaders to the program
pgm.GetShaders().AddItem(shaderv)
pgm.GetShaders().AddItem(shaderf)

# And tell the actor property that it should totally use this cool program
openGLproperty = actor.GetProperty()
openGLproperty.SetPropProgram(pgm)
openGLproperty.ShadingOn()
That’s it for my basic tutorial on how to use shaders in VTK. If people are interested, I could make a more elaborate tutorial on how to pass attributes, use textures, and scalar mesh properties in your VTK shaders 🙂 Hope this was helpful!